The best way to Decorate a Kitchen Alcove

An alcove could be an ideal place to get a dining location, bar, buffet station or extra storage and exhibit room since it is somewhat separated in the remaining kitchen. As a region that is smaller, decorating an alcove could possibly be be difficult. One of the most easy and most efficient techniques to emphasize the the area would be to use lights that provides a decorative component. Several alternatives perform properly in this kind of location, in order to get the lights that is best no matter the size or goal of your alcove.

Hang a Pendant

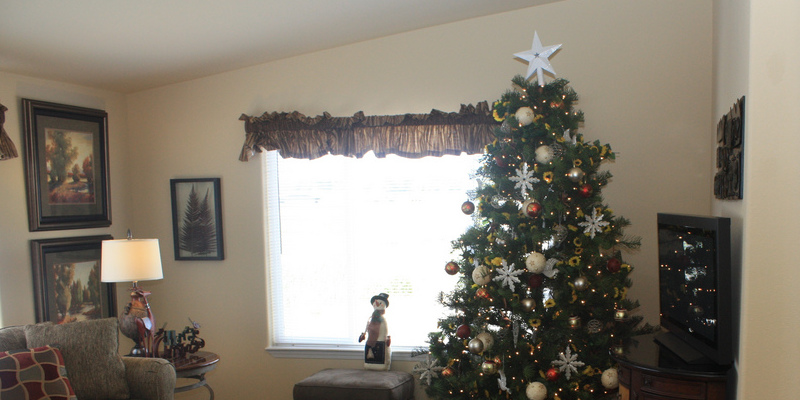
To actually highlight your kitchen alcove, a pendant light provides the most eye catching alternative. As its title suggests, it’s a light that features an attractive fixture or shade and hangs down in the ceiling. Lights come in various sizes, shapes and colours, in order to find. In a little room such as an alcove, a pendant light is generally adequate to light the the room and include drama. When your alcove is greater, you might want to to hold pendants that are several in a row. A pendant light is an choice as it gives delicate, warm mild that generates a welcoming ambiance for an alcove that serves as a buffet or bar region in your kitchen.

Mount Sconces

In a little alcove, without taking on too much room, light fixtures that a-DD an ornamental component are essential. Sconces are an I Deal alternative to get a tight alcove because it is possible to mount them to the wall s O they don’t t-AKE too much area. Since they provide ambient lights, sconces perform particularly nicely in a tiny room such as an alcove because they won’t overwhelm it with severe mild. They can be also an efficient selection when you’ve painted the alcove in a accent shade to generate it stand right out of the remaining kitchen because their mild generally washes up or down the wall to get a delicate highlighting result. Like pendant lights, it is possible to find wall sconces in various sizes and types therefore it’s simple to seek out an option that fits with your kitchen decor.

Light Shelves

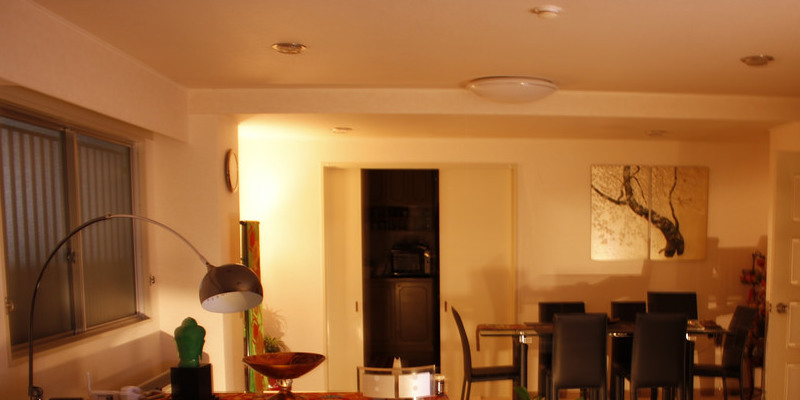
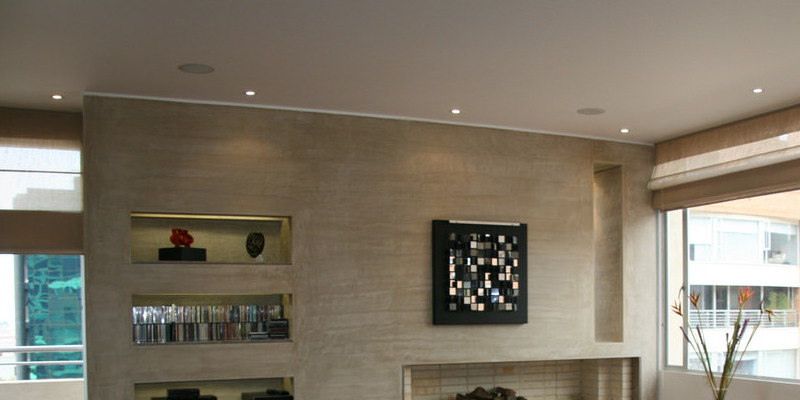
When your alcove is lined with cupboards or shelves for storage, including lights under the the shelves or inside the cupboards is a successful strategy to accent products. Slim fixtures illuminate the location beneath and effortlessly match beneath shelves. In the cabinet, halogen monitor lights that are miniature perform nicely since they’re more easy to dim than lighting and you couuld want to get a grip on the lighting to avoid glare from glass- cupboard doors. While this kind of lights might serve a sensible goal in lights saved things so you could locate them mo-Re effortlessly, it’s also an I Deal alternative when you want to to produce attractive dishes, eyeglasses or other collectible things in your alcove cupboards or shelves.

Get C Reative with Rope

For a cheap, effortless lights scheme in your kitchen alcove, attempt rope lights. It’s possible for you to use it under shelves or inside cupboards like fluorescent and halogen fixtures, but rope lighting’s versatility lets you use it mo Re creatively in your alcove at the same time. Running a string of the lights under a toe kick gives a delicate glow for the alcove’s flooring, while working it along the molding on top of the alcove’s partitions casts mild toward the ceiling. Rope lights is an I Deal accent when you program to to hold an item of artwork in your alcove.

The best way to Prevent Chalking of Basement Walls

Walls are infamous for dampness issues, one which is a material that develops on their area. This efflorescence is not a an issue that is structural, therefore there is no need to worry that the basis of your home’s is compromised. The chalk is really salt deposits taken to to the the top of concrete by water. The salt is left left out when the water evaporates. There are methods to avoid the chalking from showing in the event you are bothered by the aesthetics of the appear.

While the home has been built treat the the outside walls of your basement using a water-proofing compound. That isn’t an alternative for individuals who purchase existing properties, but if if you are creating a house, make certain that water-proofing to to protect against soil moisture is portion of the creating procedure. Much comes in the soil as the moisture is drawn in the soil, through the concrete and into your basement although concrete has some salt that will travel to the area.

Paint your basement walls having a water-resistant masonry sealer using roller and a paint brush. Clean the partitions with a dry-brush and vacuum hose attachment to eliminate the residue that is chalky. The water-resistant sealer helps prevent moisture from breaching the the inside from achieving the the the inner partitions of your basement wall, which retains the salt deposits.

Make your basement humid. Seal duct joints tape, as well as your your dryer wrap foam insulation, and vent whether it’s it is in your basement. Place a dehumidifier in your basement and empty the water receptacle everyday. Do not permit water to sit in your basement in buckets or sinks.

Extend your down spouts therefore rain-water is launched several feet out of your home. Although your house was probably developed to enable water to movement far from the the building blocks, the water can be trapped by settling of the floor plus some landscaping and keep it near to the basement walls. The mo-Re water that passes the exterior of the partitions, the mo-Re chalk you happen to be likely to see on the inside. Extending your down-spouts can assist manual water far from the floor surrounding your basement.

The best way to Level a Washer in a Drip Pan

The washer of a home’s spins quickly throughout specific clean cycles, including the process that is last. Considering that the spinning motion is so quick, a washer that is badly leveled can vibrate and cause lots of noise. As an answer, suppliers style washers to keep the washer as possible. Placing the washer is a useful solution to avoid water water damage and mold in the event the washer leaks; any leaks can be caught by the pan that is completely affixed. The washer needs to be around leveled so the foot changes are easier to achieve before being inserted to the pan.

Place the washer near the drip pan that is completely installed. The ground area next to the the pan should be about the same level as the inside area of the pan as it’s screwed down. Simply because they’re heavy, have an assistant available to assist with all the motion of the washer.

Therefore it’s with the entrance of the equipment position an amount along with the washer.

Release the the stress on every locknut attached to every washer foot using a wrench. The wrench dimension depends on the style of the manufacturer’s. Consult the guide for particular wrench measurements of the washer.

Observe the level. Turn each foot together with the wrench to shift the bubble of the level to the middle stage. Typically, the the applying is lowered by a movement that is counter-clockwise and raises it.

Continue to elevate and reduce the toes within an alternating “X” routine from corner to the next corner before the le Vel bubble is centered.

Place the le Vel in a perpendicular course to the very front of the washer.

Repeat actions 4 and 5 to finely alter the le Vel bubble in the perpendicular course.

Move the le Vel again to its placement that is parallel. It ought to be level in both parallel and perpendicular instructions.

Till they’ve been tightened to the base of the washer, effortlessly locking the feet in to location turn each lock-nut on every foot having a wrench.

Lift the washer and watchfully set down it into the drip pan. Have your assistant assist with all the lifting so your washer isn’t established down also greatly. The foot adjustments may be altered by dropping the washer to the pan.

Place the le Vel again on the washer. Verify the bubble is nonetheless le Vel in both parallel and perpendicular instructions. Move the washer forth and straight back in its place on the drip pan. The washer should sense le Vel and durable to the contact.

The best way to Paint Over Water Spots on a Ceiling

A ceiling that is decorated is maybe not when the style is blotches from water water damage and mold, although a style reward. This damage can range from a simple issue all of the way, like water spots to dry wall that is rotted. Water spots may be painted-over to conceal them, but before you make any kind of fix the leak, to the dry wall itself should be located and fixed. The water water damage and mold can re-appear when the leak isn’t fixed.

Where the water places are situated move any furniture or other objects away from your area beneath the the ceiling. Cover the ground using a tarp.

Examine the dry wall to make sure that it’s still connected to the ceiling joists. It is possible to do this by pressing against the ceiling. Push drywall screws throughout the fringe of of the dry wall panel and to the ceiling joist using a drill, if required.

Inspect the ceiling for mildew. Mix a solution of four parts water to one part bleach if mold is present, and wipe it onto the ceiling to eliminate the mould. Allow the ceiling. (Utilizing a hairdryer can speed up this procedure.) Skip this, when there isn’t any mold.

Create a test strip for the paint to make sure that it is going to match the remaining ceiling. Apply primer to some section of a wood board that is little and permit it to dry. Apply two coats of paint to the region you primed, enabling each coat to dry. Hold the board contrary to the ceiling to verify the match.

Cover the water places on the ceiling with all the primer, utilizing a foam brush. Place the suggestion of the brush to the primer, and dab it onto the ceiling on the water places. Wipe a way any excessive primer that blots up. Dabbing it assists the paint mix to the ceiling better. Allow the primer to dry.

Apply two coats of paint to the location where you used the primer, permitting each coat to dry. Use a foam brush that is 2nd when implementing the paint, as you did with the primer and apply the paint vigilantly.