Repairing a chimney mortar is one of those handyman tasks that you can do yourself. Doing the repair yourself can save you money from having to pay a professional to do the job. The step-by-step process presented below proves how straightforward it is to repair a chimney and build a sloped crown to prevent water leakage in the future.
Tools and Materials
Before you start, it’s important that you prepare the tools and materials that you will need.
Here are some of the most common tools and materials that you’ll need for repairing your chimney mortar:
– Trowel
– Mortar
– Weather cap
Prevent Chimney Leaks
Once you have all the tools and materials ready, you can get started with the job. Start by mixing the mortar until you achieve a consistency that’s similar to that of cookie dough. It shouldn’t be too dry or too soggy.
Here are some tips when it comes to mixing the mortar:
– While the mortar is at rest, prepare the area by clearing all the loose debris away.
– When applying mortar towards the crown, form it within an apex where the peak should be at the middle, sloping down into the edges. Just think of this as something like a roof. The goal is to drain the water far away from the crown.
– Avoid making the edges too thin. It should have a height of about 1/2 to 3/4 inches in order to keep it from detaching at a later time. Then use the mortar to seal any of the holes surrounding the crown.
Leave the mortar for several hours, allowing it to cure before you do any further work on it.
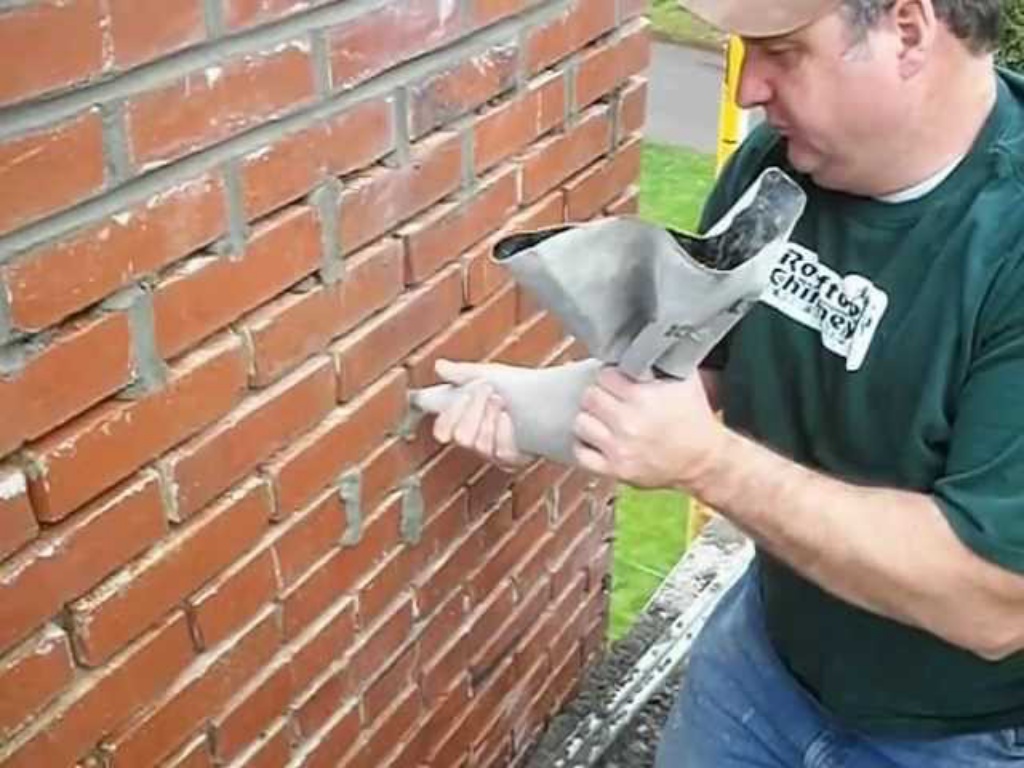
Restore the Brick Joints
Restoring the brick joints is a process that house repairs professionals would call as the tuck-pointing. First prep the area to make sure there’s enough adhesion.
Then apply the mortar directly to the joint with the help of a pointing trowel. You can use your fingers when working on some of the tighter joints. Just make sure that the mortar is packed tightly each time you apply it.
Clear any excess mortar away and make sure the entire void is filled in and they stay well in place.
Make sure that the mortar is churned continuously to ensure proper consistency all throughout the process.
Install a Cap and Screen
In order to finish the project and to keep rainwater from getting into the flue, attach a cap and a screen above the chimney. Depending on the kind of weather cap and damper you have bought, make sure you follow the manufacturer’s instructions when it comes to it.
As you can see, the process of repairing the chimney mortar is easy. However, there are also cases where you might need the help of a professional handyman services to repair the more complicated issues. In this case, don’t hesitate to call for help. It might just save you more money than trying to force yourself into repairing something that you aren’t capable of!